Digital Disguises, Vol. 1: A Beginner’s Guide to Virtual Machines in OSINT

Heads-up:
This one’s a little more technical than my usual posts. But don’t worry. I’ll walk you through every step. If you’ve never touched a virtual machine before, you’re exactly who this is for.
I wanted to take some time this week and talk about something I believe is crucial to your investigations and research. Virtual Machines (aka VMs).
I’ve come across so many people who don’t have experience using VMs or even know where to start. Personally, I believe it’s essential to use one to maintain your OPSec and protect your host computer.
Now, yes, you’ll probably find a bunch of articles online explaining how to install and set up a VM. But this one? It’s for my beginner digital detectives.
Once you get the hang of how a VM is set up, you’ll start tweaking it to fit your needs and personal preferences.
In this post, I’ll show you how I set up my own machine and share a few tips to help you build your own safe space for investigation.
What You’ll Need Before We Start
Let’s keep it simple. To follow along, you’ll need:
- A computer (Windows, macOS, or Linux is fine) (Windows for me!)
- Internet access
- A little patience and curiosity
- About 15–30 minutes, depending on your setup speed
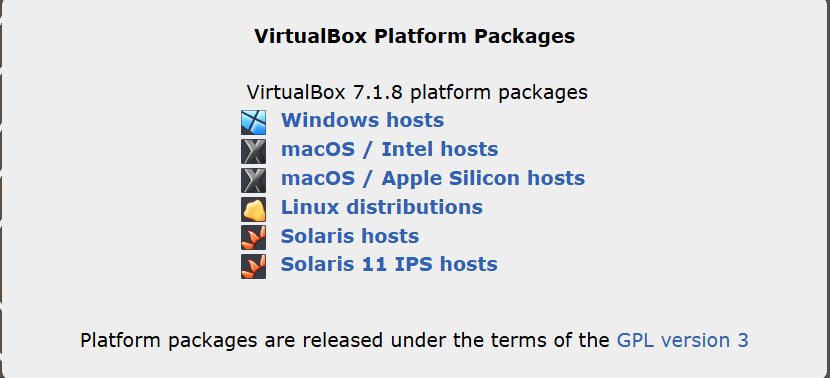
Step 1: Download VirtualBox
We’re using VirtualBox because it’s free, beginner-friendly, and works on most operating systems.
- Go to https://www.virtualbox.org
- Click on Download
- Choose your platform (Windows, macOS, or Linux)
- Download and install it—just follow the prompts and keep the default settings
- Once installed, go ahead and open it. You’re now one step closer to your very own OSINT lab.
Note: For the sake of timing, and keeping this tutorial simple. We will not cover the File Checksums on this tutorial.
Step 2: Download Kali Linux
For this setup, we’ll be downloading Kali Linux, a popular choice for OSINT, forensics, and cybersecurity work.
But just so you know, Kali isn’t your only option. There are other virtual machines you can explore later, like Parrot OS, CSI Linux, and other builds.
For now, we’ll keep it simple and stick with Kali. It's well-documented, easy to get started with, and comes packed with tools you’ll eventually want to try.
For this tutorial, we’re going with the easiest and most beginner-friendly option. Pre-built virtual machine.
Pre-Built Virtual Machine (easiest- the path I usually take)
Go to https://www.kali.org/get-kali/#kali-virtual-machines
Look for the VirtualBox version and download the file.
⚠️ Note: Sometimes the file downloads as a compressed .7z or .zip. If that happens, you’ll need to extract it first using a tool like 7-Zip before importing it into VirtualBox.
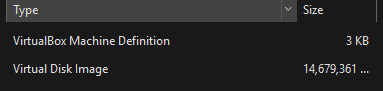
Step 3: Add Your Kali VM into VirtualBox (If You Don’t See an .ova)
Depending on how the Kali VM downloads, you may not get a single .ova file. Instead, you might end up with a folder containing files like:
- A VirtualBox Machine Definition file (
.vbox) - A Virtual Disk Image (
.vdi)
(Like the image below 👇)
If that’s what you see—no worries! Just follow these steps:
- Open VirtualBox
- Go to the top menu and click Machine → Add...
- Navigate to the folder where you extracted the Kali files
- Click the
.vboxfile (it’s the one that defines the machine setup) - Click Open
And that’s it. Your VM will now show up in VirtualBox, ready to start.
Once your Kali VM is showing up in VirtualBox, it’s worth checking a few settings before you hit Start.
Here’s what I recommend:
Give It Enough RAM
- Right-click on your VM and select Settings
- Go to System → Motherboard
- Set the Base Memory to at least 2048 MB (2 GB)
- If your system has more RAM to spare, bump it up a bit for smoother performance
Adjust the Processor
- In Settings → System → Processor
- Change the CPU count to 2 (if your system allows it)
This helps speed things up, especially when running tools
Just don’t go too high! Try to stay under half of your computer’s total processors
Check the Network
- Go to Settings → Network
- Make sure Adapter 1 is attached to NAT
This lets your VM access the internet safely
Optional: Enable Clipboard Sharing
- Under Settings → General → Advanced
- Set Shared Clipboard to Bidirectional
That way, you can copy/paste text between your host and VM
Optional: Take a Snapshot
- Right-click the VM → Take Snapshot
It’s like a backup button for your entire machine. Trust me, it’s worth it.
Step 4: Launch Your VM for the First Time
You’ve made it this far. Now it’s time to see Kali in action.
- In VirtualBox, look at the left-hand panel and click on your Kali Linux VM
- Hit the Start button at the top
- Give it a moment to boot up. You’ll see the Kali logo while it loads
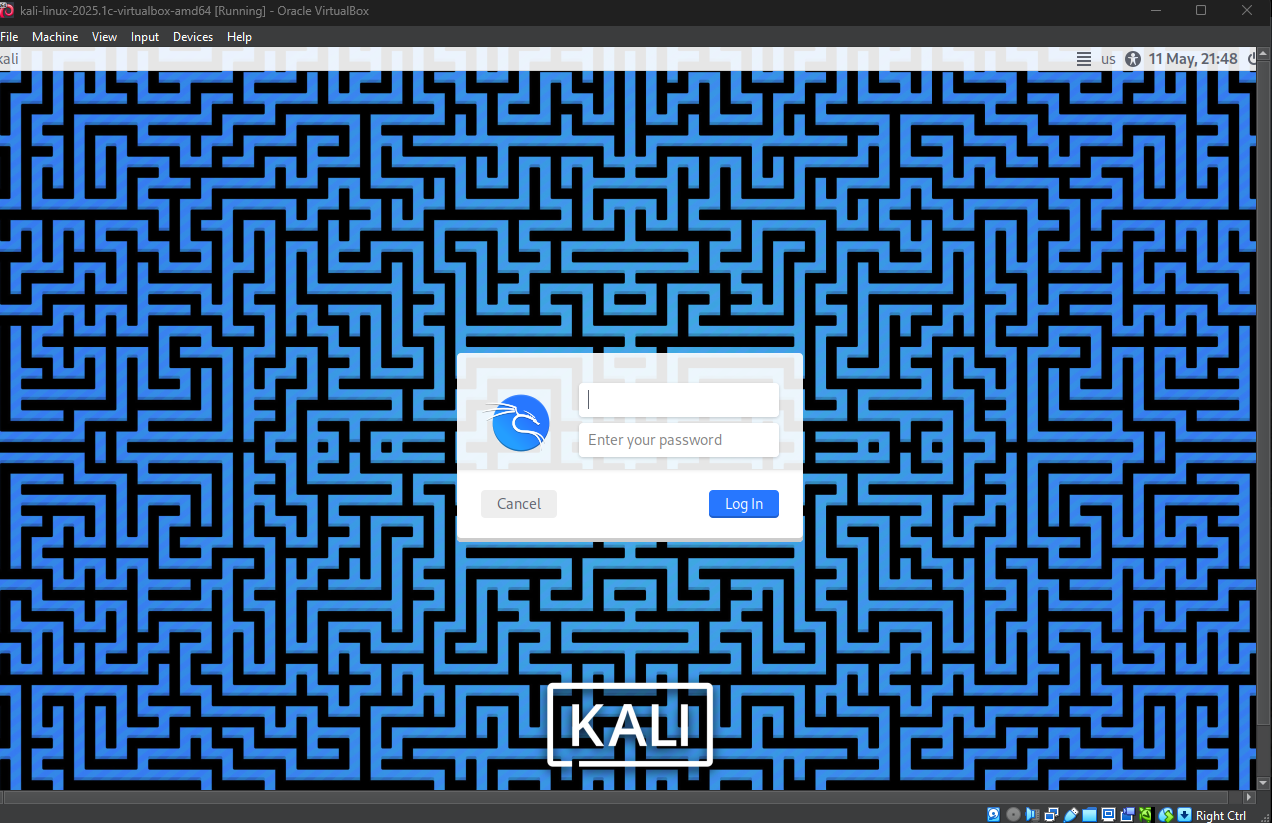
You’ll then land on the login screen.
If you're using the pre-built image, your default credentials are:
- Username: kali
- Password: kali
Type those in, and welcome to your new digital investigation space.
Heads-up: The first boot can be a little slow. That’s normal.
Once you’re in, take a second to soak it in. This is your sandbox. Your lab. Your safe zone for OSINT.
Step 5: A Quick Tour Inside Kali
You’re in! Now let’s take a quick look around so you don’t feel lost.
When Kali boots up, you’ll land on the desktop. You’ll notice the dark theme and a few key things:
- Top left menu – Click “Applications” (Kali logo) to see a list of pre-installed tools. You’ll find categories like Information Gathering, Web App Analysis, and Forensics.
- Terminal – You’ll use this a lot. It’s the black square icon in the top bar or on the sidebar. Try opening it and typing
whoami. - Firefox – Yep, there’s a browser already installed so you can safely explore from inside your VM.
Remember: This environment is isolated. You can click, explore, test, and learn without touching your main system.
Once you feel comfortable, go ahead and update it. (Go to Step 6)
Step 6: Don’t Skip This! Update Your Kali VM
Before you start installing tools or investigating anything, let’s make sure everything is current.
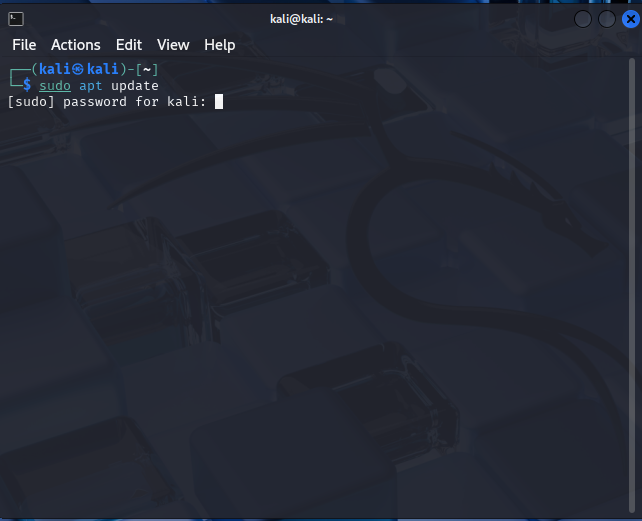
- Open your Terminal
- Run this command: sudo apt update
Then run this command: sudo apt full-upgrade -y - Enter your password when prompted (likely
kali) - Let it do its thing. It might take a few minutes, especially the first time.
This keeps your tools updated and helps avoid weird errors down the road.
Once the update is done, this is what I like to do:
I rename my VM something like “Kali_Master” and leave it alone.
That’s my clean, updated copy.
Any time I need to start a project, run a tool, or try something risky, I just clone the Kali_Master VM and work off that copy.
When I’m done, I delete the clone and start fresh next time.
Here's how:
- In VirtualBox, right-click on your Kali Linux VM
- Select Clone
- Name the new VM whatever you want (example:
Kali_OSINT1) - Choose Full clone and check Reinitialize MAC address of all network cards
- Click Clone
No clutter. No broken machines. And my master stays clean and ready. I only update my "Kali_Master" VM.
What’s Next?
Congrats! Your investigation lab is officially open for business.
So… now what?
Here’s what I recommend for your next moves:
Take a snapshot of your clone VM
That way, if you break something (and you will), you can roll it back like nothing ever happened.
Click around the Applications menu
Start simple. Tools like Whois, theHarvester, or ExifTool are great for getting your feet wet.
Make it yours
Change the wallpaper, add a few bookmarks, install your favorite browser extensions. This is your space to set it up how you like.
Learn a few terminal basics
Even just the essentials will go a long way. You don’t need to be a Linux wizard, you just need to get comfortable.
And remember. Every OSINTer starts somewhere. You’re not behind.
You’re exactly where you need to be.